top of page
EBONY'S
QUESTION 4 EVALUATION
PREMIER PRO
Premier pro was used to edit our music video. Over the editing period, I learned how to use several tools and effects.
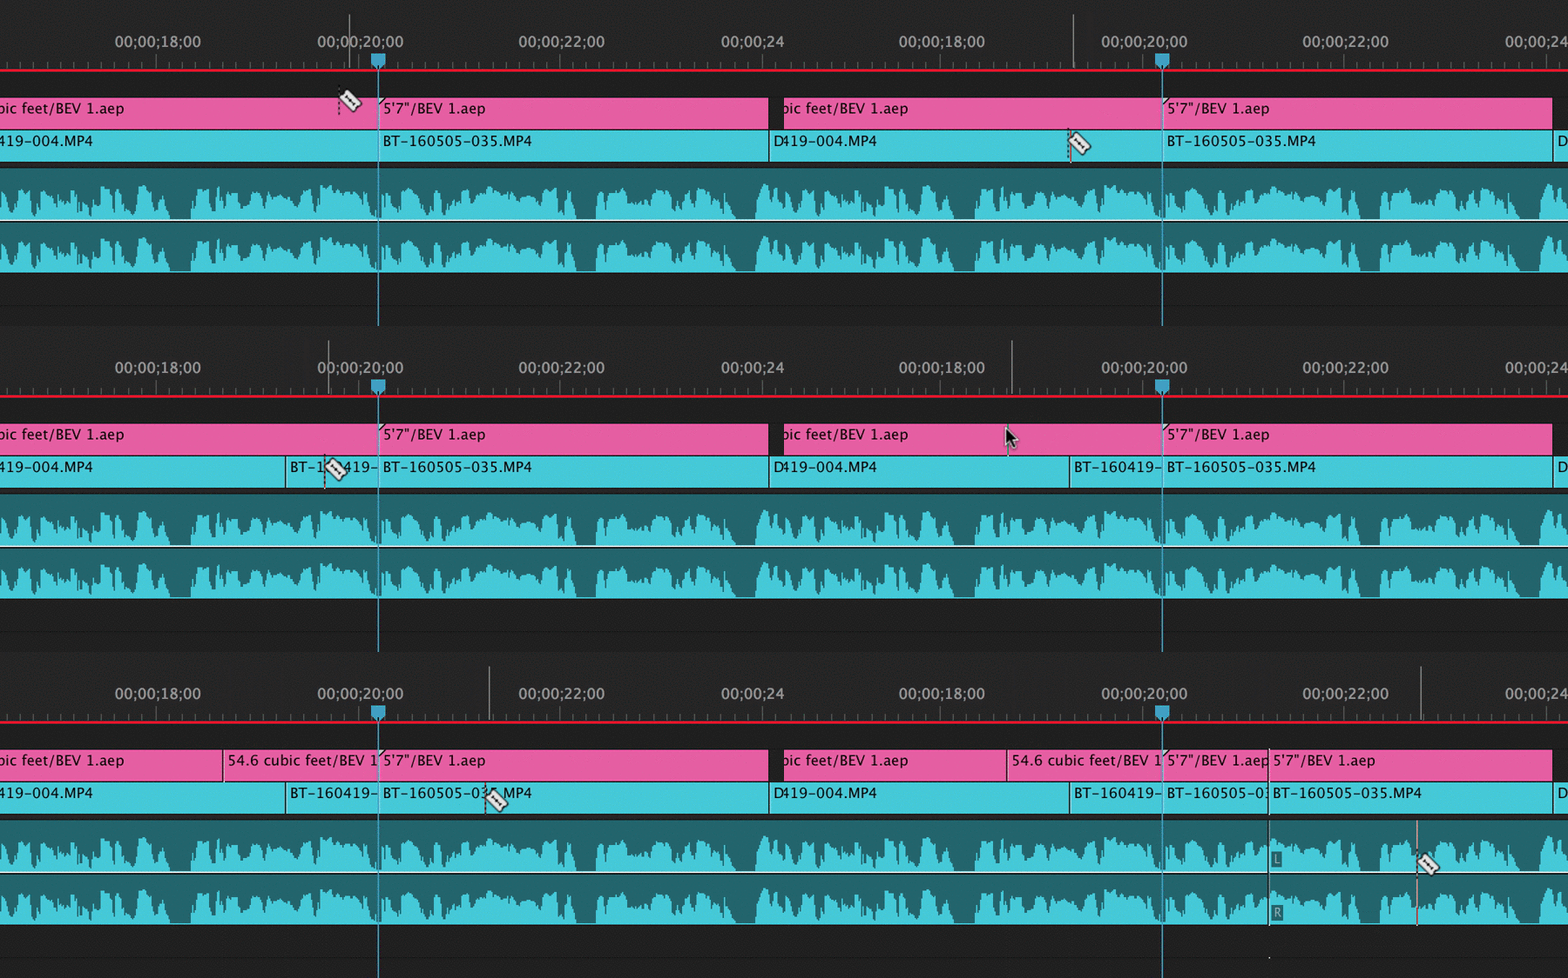
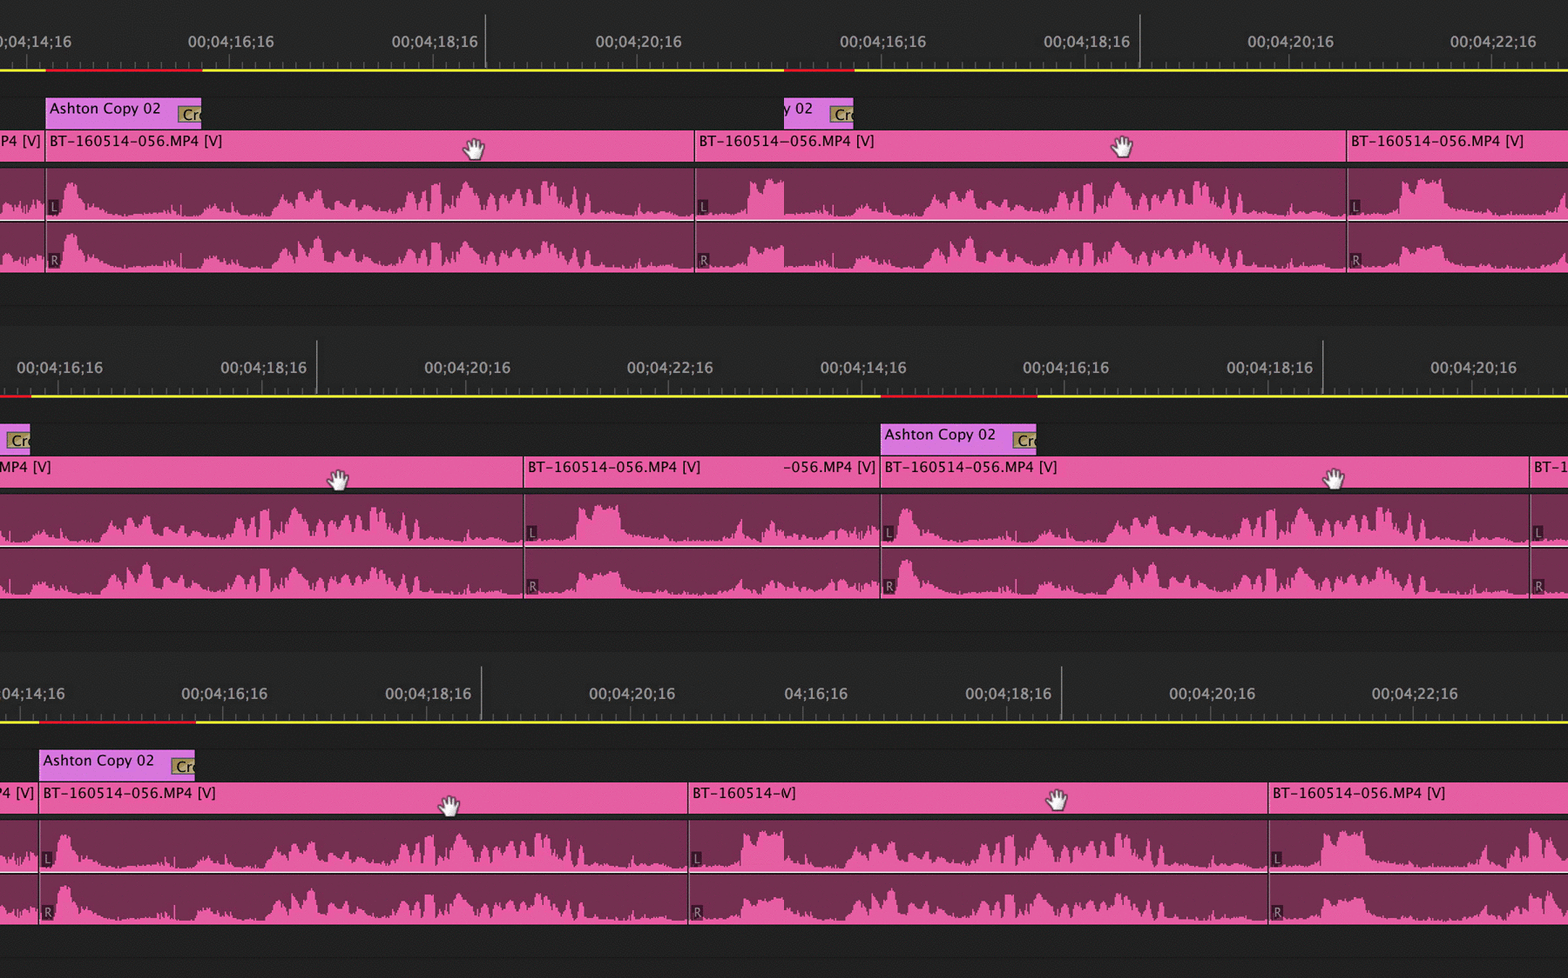
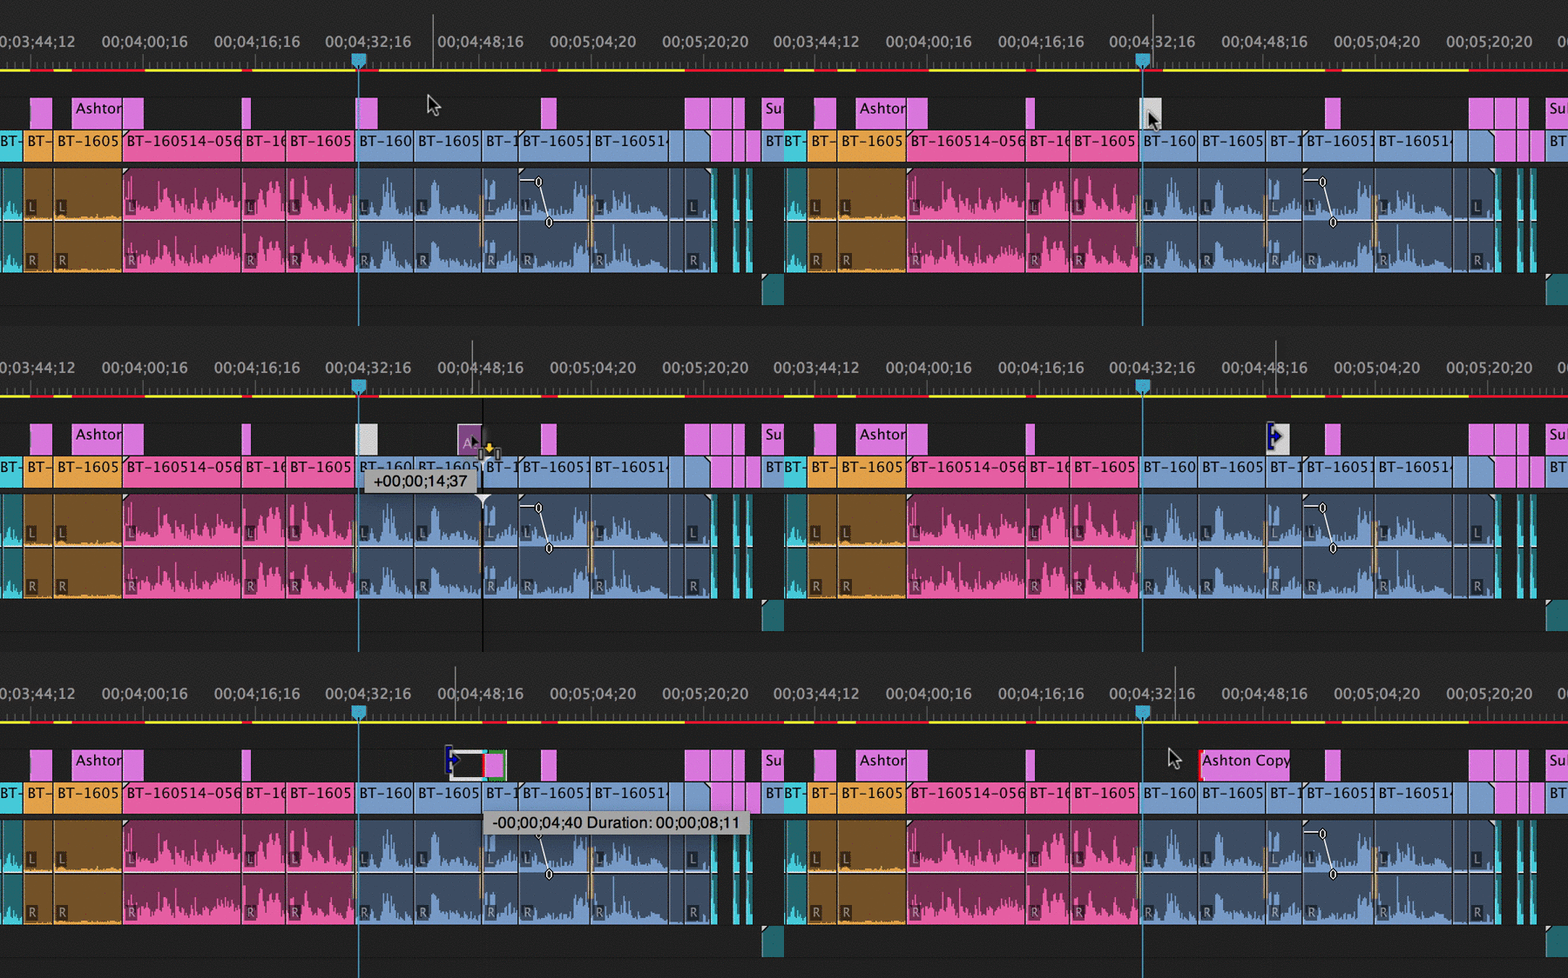
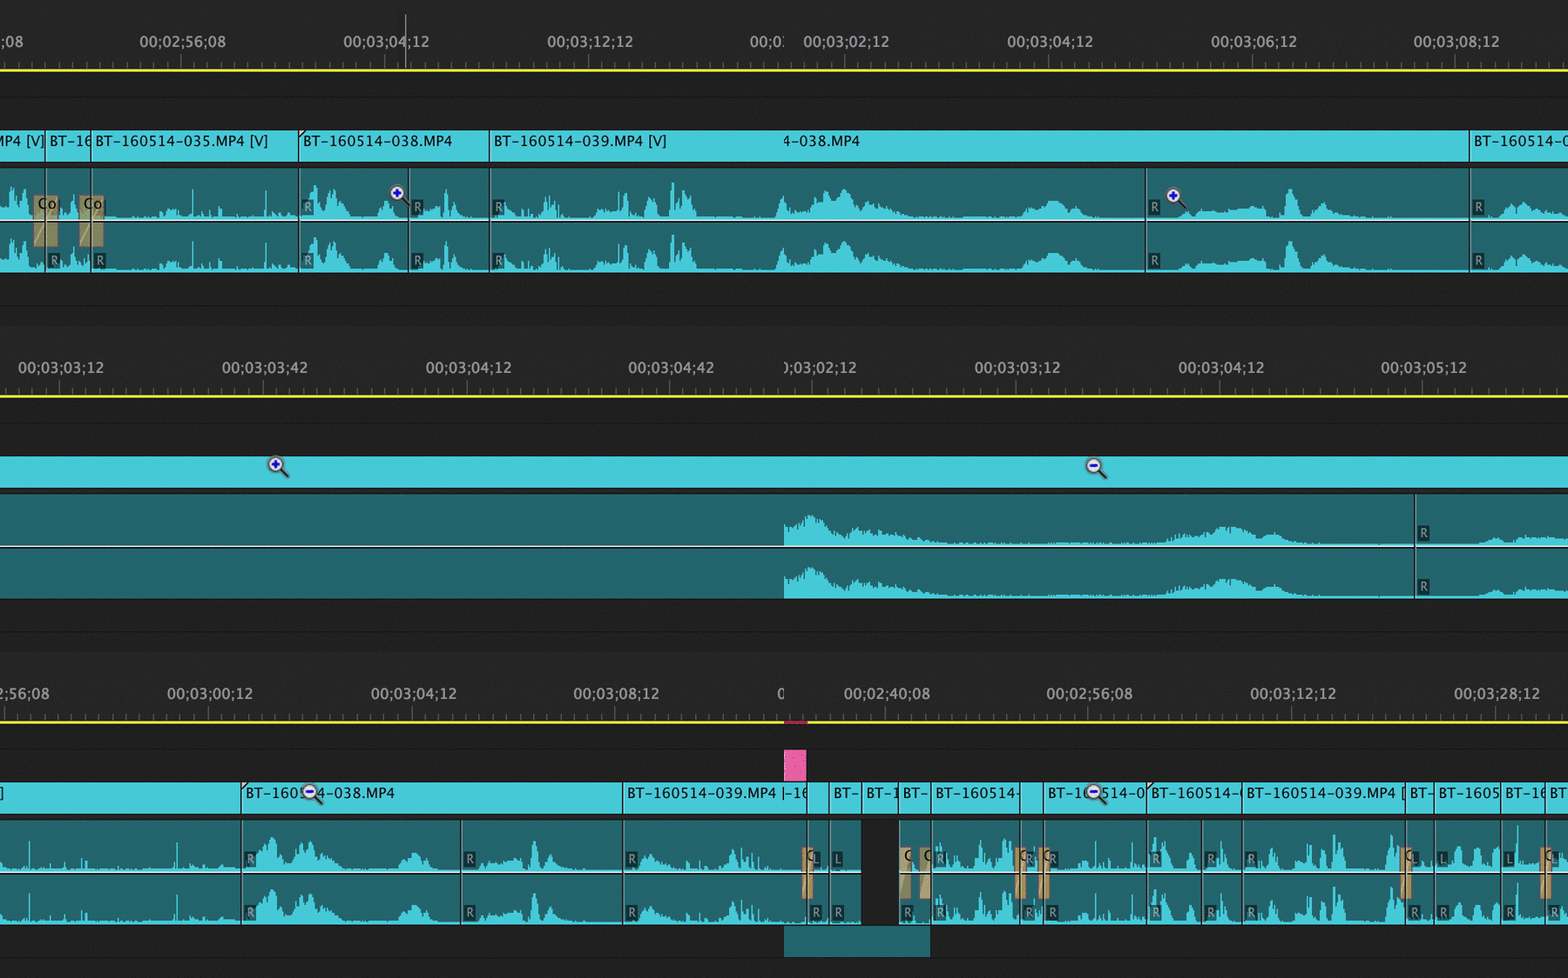

In premiere pro, I was able to drag and drop files directly from my documents and from the memory cards form the camera. This was helpful because I the clips that I drop were saved on the side where I could select them again if I wanted to.
If I double-clicked on the footage on the side it let me select a part of the clip if I wanted to. This was sometimes helpful because it meant that I didn’t have to cut the clip on the timeline because I did it already.
These symbols underneath allowed me to drag the clip only or only drag the audio of the clip.
These symbols allowed be to mark in/out parts of the clip that showed in the window above
I used the hand tool to drag along the timeline and to place clips onto the timeline. The timeline is where you put the clips and audio files.
I used the zoom tool to zoom in and out on the timeline. This made editing easier because It allowed me to zoom in and make precise cuts.
I used the selection tool to move clips and to make them longer or shorter.
I used the razor tool to cut the clips and audios on the timeline. This tool is one way to make clips shorter by cutting one long clip into to smaller clips.

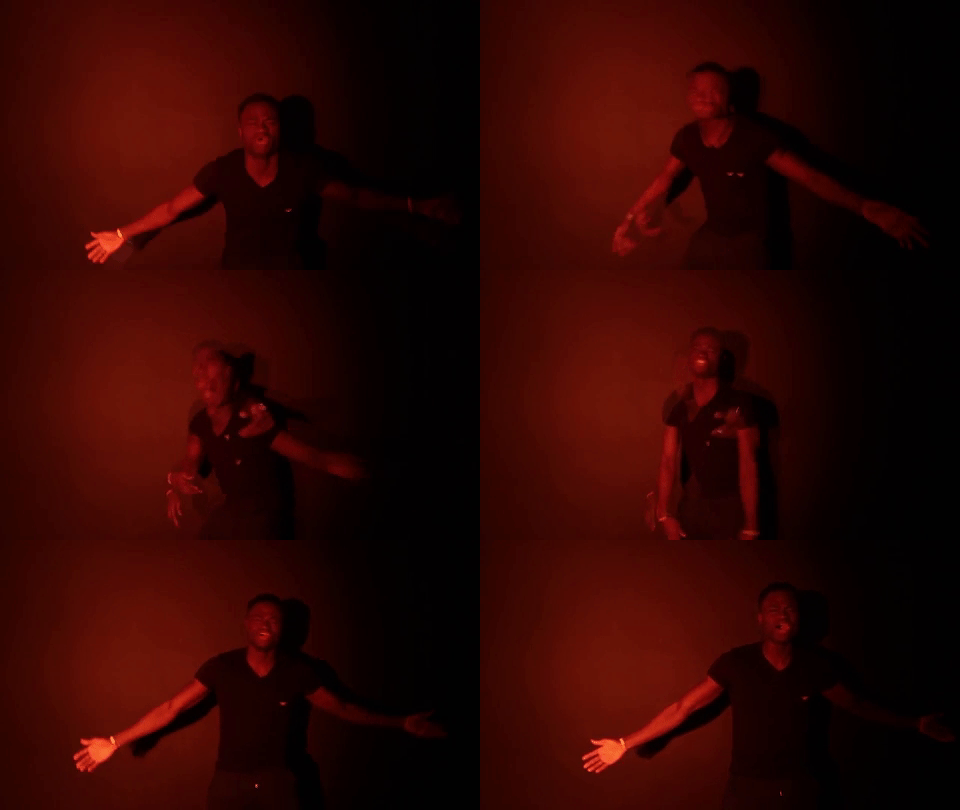
In some of the lip-synching clips, I added an edit where I duplicated the clip and then put the duplicated on top of the original. I then slowed down the duplicated clip and made it faded to 50%. This gave a ghost-like effect and made it seem like there was two of the actor.
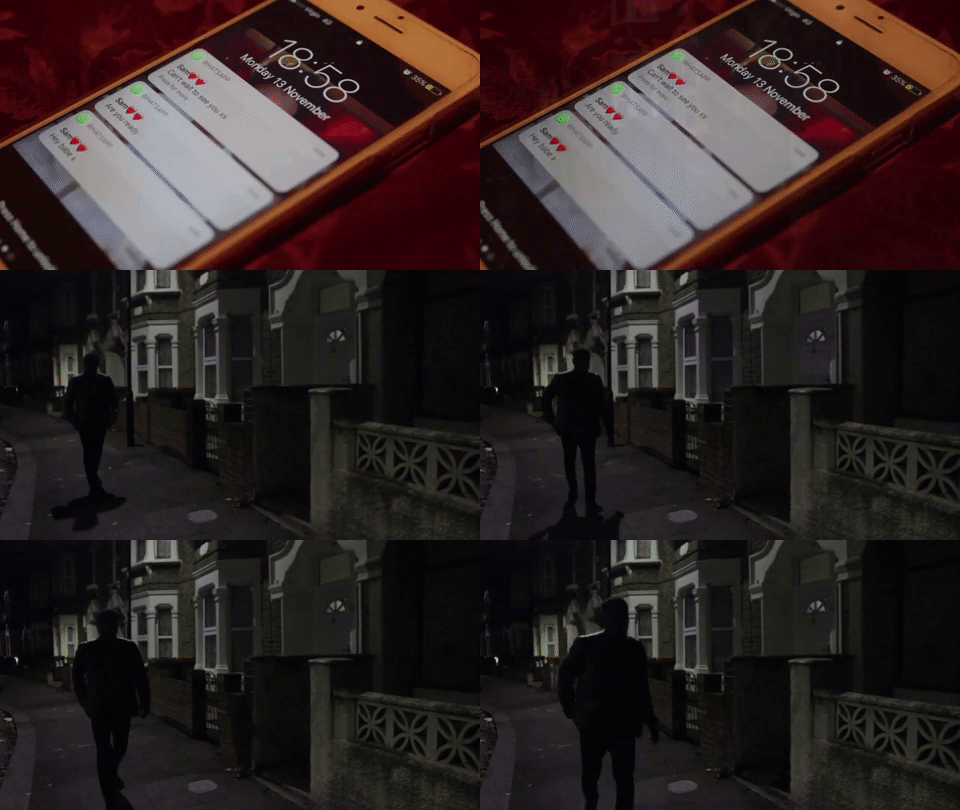
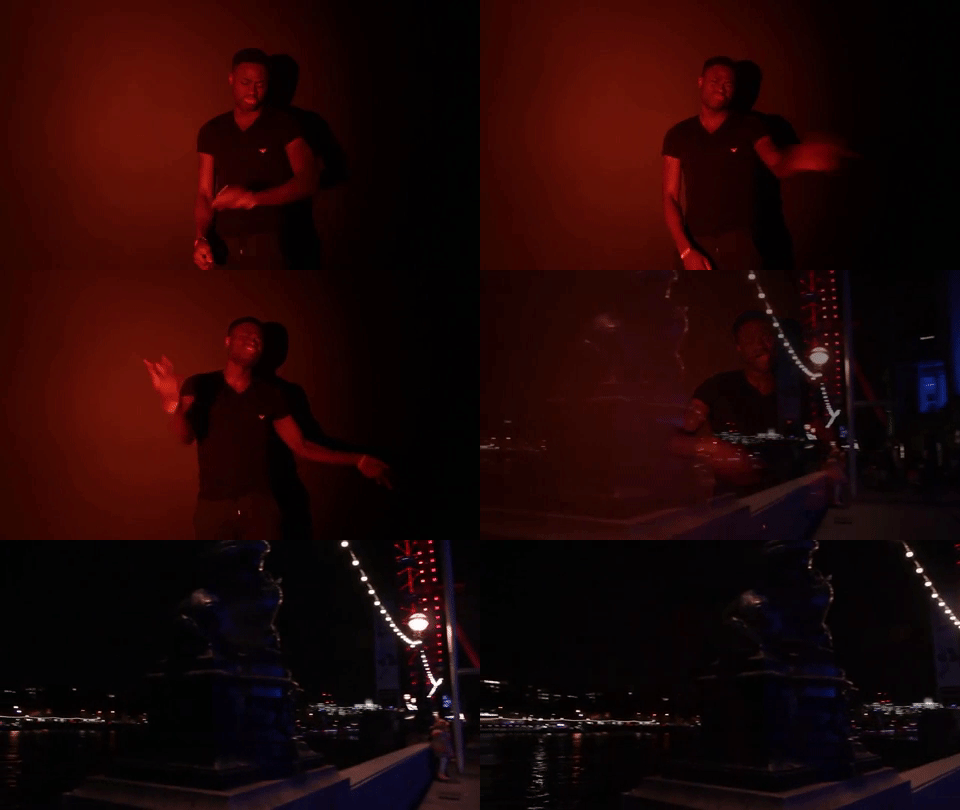
We used the crossfade edit to fade one clip to the next. We used this edit because it was a suitable transition for the song.
bottom of page